|
Welcome to the True Beauty newsletter from Makeup-Tips-Magazine.com.
In today's issue, I thought it would be fun to try a photo tutorial! This look is a great for winter time, especially if you will be going out after dark.
To create the look, I used two shades of eyeshadow: one medium, taupe brown and a medium dark shimmery purple hue. I also used a very pale gold shimmery highlighter for my brow bone. The liquid eyeliner is darker plum shade with a hint of shimmer.
This look is super easy to achieve and looks great on a night out. I hope you enjoy the tutorial!
Step 1) Start with a clean, fresh face that is free of all other eye makeup. It is a good idea to apply a nude eyelid primer to keep your makeup from sliding off.
I wear Urban Decay's Primer Potion in the purple tube and have found that it works quite well.
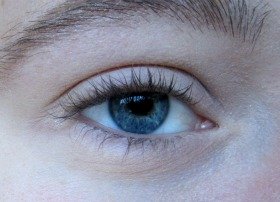
Step 2) In this next step I took some of the pale gold shimmery eyeshadow onto my brush, and swept it onto my brow bone to highlight the area.
I also dabbed a small amount onto the inner corners of my eyes. This step will really "wake up" your eyes and add to the whole look.
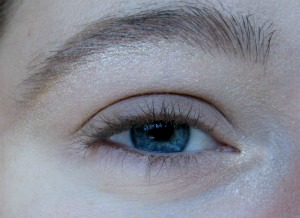
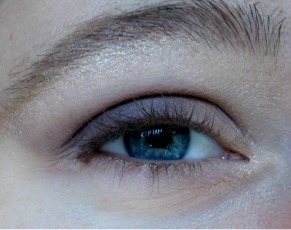
Step 3) In this step, I did two things. First, I dabbed the medium brown shade onto the very center of my eyelids and blended it.
Then, I picked up the purple shadow and applied it to my crease. This gives depth to your eyes and makes them stand out.
When you are applying the purple, use the first few strokes on your crease, because that is where it will deposit the most makeup.
Then, begin blending by running your brush over your crease, and also dragging some of that eyeshadow below to form the sideways V you see in the picture. Be careful not to bring any of this eyeshadow past the outer corner of your eye.
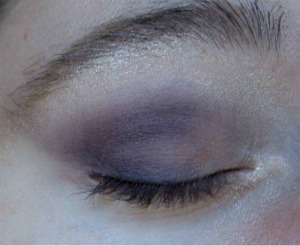
This photo shows what Step 3 looks like when your eye is open.
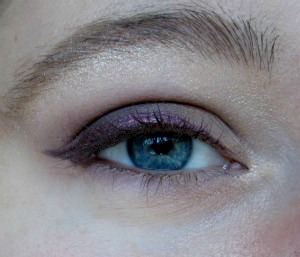
Step 4) Now it is time to apply the liquid eyeliner. This is the fun part of the tutorial, because the whole look starts to come together here.
Shake your liquid liner once or twice to mix it together. Then take the brush or pen and hold it horizontal in front of your face.
You will want to use short strokes to get the most accurate line. Start at the inner corner of your eyelid, and begin following your upper lash line from corner to corner.
When you reach the outer corner, give the brush a little flick to create the wing. You may need to practice this step a couple of times to get it just right.
It is also a good idea to make your line a bit thicker once you get to the outer half. This will give you an almond shaped eye that is very pretty.
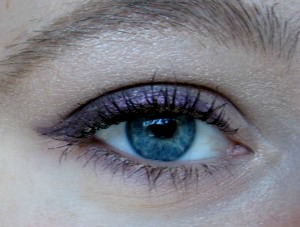
Step 5) Apply mascara and, if you wish, you can also add false lashes to make the look even more dramatic. I didn't use any falsies in this tutorial, but they can be great for after dark parties and dancing.
Please Send Me Your Feedback!
Let me know what you liked and disliked about this issue by emailing lena@makeup-tips-magazine.com. I'm always trying to improve our beauty newsletters.
Is there a tutorial or makeup review you'd like to see in your email? Send me your questions and requests for the next issue!
|

